Posted by Urban Hardware on 23rd Oct 2024
How to Replace Furniture Legs: A DIY Guide to Transforming Your Old Pieces

Gone are the days when wobbly or outdated furniture legs meant buying new pieces. Whether you're looking to modernise that vintage sideboard or stabilise your beloved coffee table, replacing furniture legs is a brilliant way to give new life into your existing pieces. In this comprehensive guide, we'll walk you through the process of swapping out those old legs for fresh ones!
What You'll Need
- Replacement furniture legs from Urban Hardware
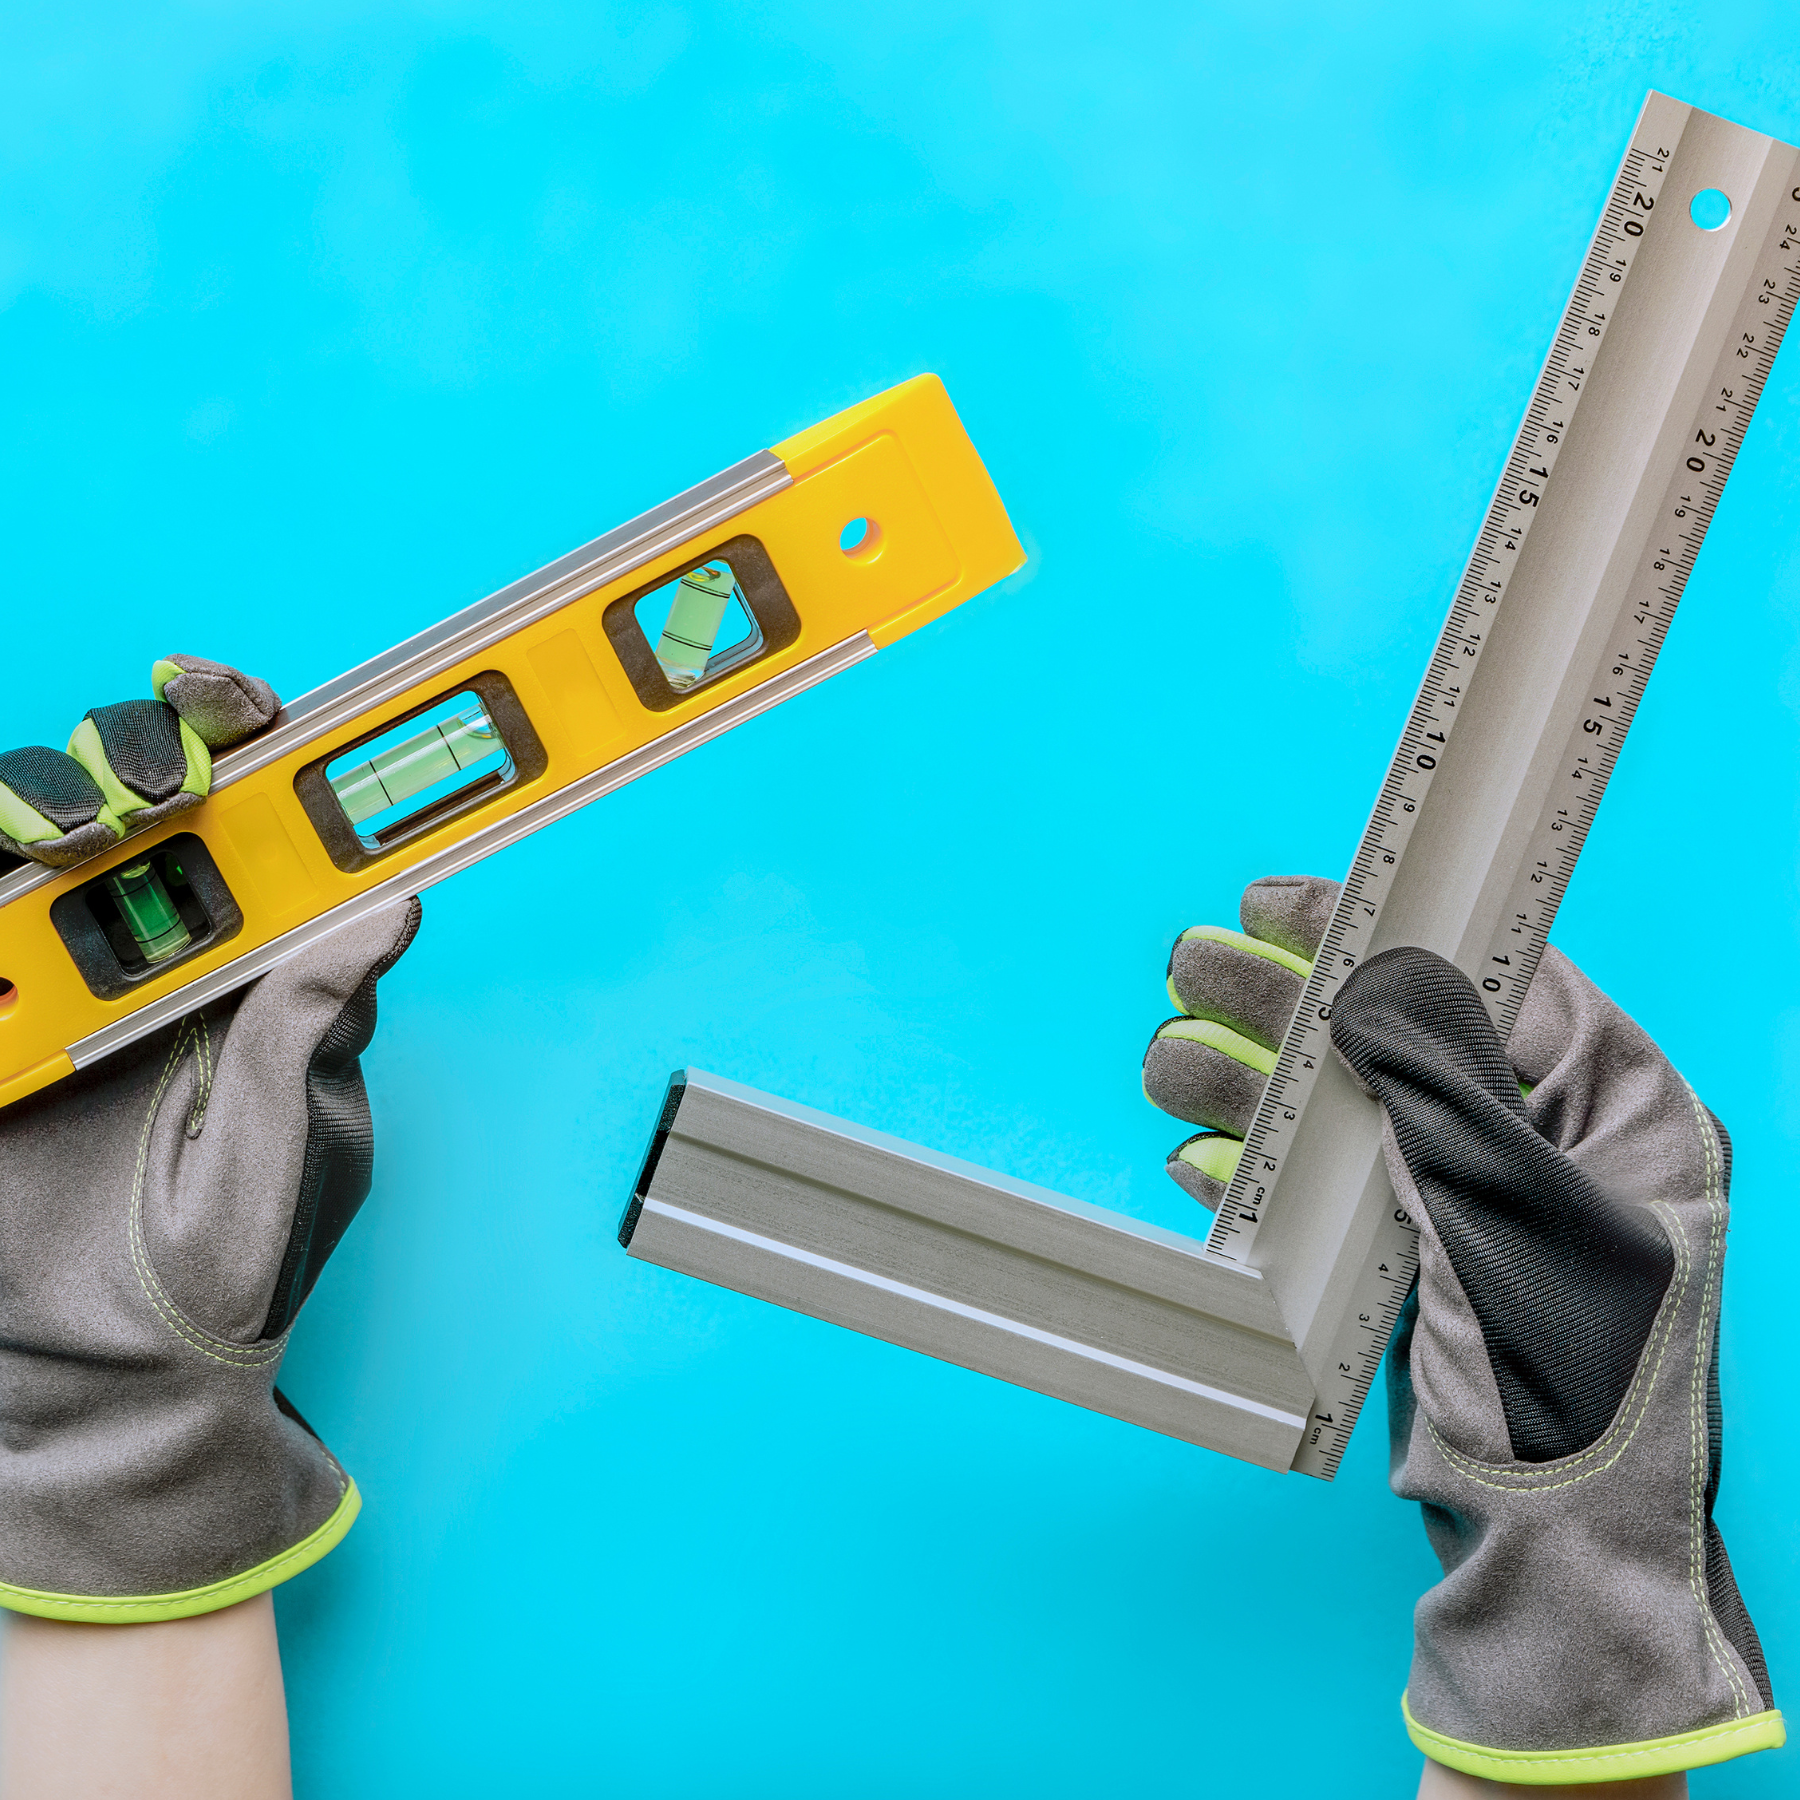
- Screwdriver (Phillips head and flathead)
- Mounting plates (if required)
- Measuring tape
- Pencil
- Power drill (optional)
- Spirit level
- Wood glue (optional)

Step 1: Assess Your Current Furniture Legs Before browsing through our wide selection of furniture legs, flip your piece over and check how the existing legs are attached. You'll typically find either:
- Threaded stems screwed directly into the furniture
- Mounting plates with screws
- Direct screw attachment
- Integrated legs (these require more work to replace)

Step 2: Measure Twice, Buy Once Take careful measurements of:
- The existing leg height
- Attachment point dimensions
- Thread size (if applicable) Pro tip: Snap a photo of the current attachment method on your phone for reference when shopping.
Step 3: Remove the Old Legs Start by clearing the area and laying your furniture piece upside down on a soft surface (old blankets work brilliantly). For threaded legs, simply unscrew them anticlockwise. For mounted legs, remove the screws holding the mounting plate in place.
Step 4: Prepare the Attachment Points Clean the attachment areas thoroughly. If you're switching from direct mount to mounting plates, now's the time to install them. For threaded inserts, ensure the threads are clean and undamaged.
Step 5: Install Your New Legs If using mounting plates:
- Position the plate precisely
- Mark your screw holes
- Pre-drill if needed (especially for hardwood)
- Attach the plate firmly
- Screw in the new leg
For threaded legs:
- Apply a drop of wood glue to the threads (optional)
- Screw in clockwise until firm
- Avoid over-tightening

Step 6: Level and Test Once all legs are attached:
- Flip your piece right-side up carefully
- Use your spirit level to check alignment
- Adjust any adjustable legs to achieve perfect balance
- Test the stability by giving it a gentle shake
Common Mistakes to Avoid
- Rushing the removal process
- Forgetting to measure thread size
- Skipping the pre-drill step on hardwood
- Not checking weight ratings on new legs
By following these steps, you'll have transformed your furniture piece without breaking the bank. The best part? This simple update can completely change the look of your room and extend the life of your favourite pieces.
Remember, proper preparation is key to success. Take your time with measurements and installation, and you'll be chuffed with the results.
