Posted by Urban Hardware on 9th Aug 2025
A Beginner’s Guide to Installing Furniture Legs
 One of the easiest ways to give a piece of furniture a new look without buying a new one is to change the legs. If you're ready, it can change the style, change the height to fit your needs, and make it more stable, all in less than an hour.
Here’s a step-by-step approach with the key measurements to keep in mind.
Tools and materials
- Furniture legs (pre-made or custom)
- Mounting plates or brackets (if not supplied with the legs)
- Screws (often included with the legs)
- Drill or screwdriver
- Measuring tape or ruler
- Pencil
- Level
- Stud finder (optional, for heavy furniture)
1.Choose the right legs
Select a style that suits the furniture and the room:
-
- Tapered legs – slim, mid-century profile.
- Hairpin legs – minimal, metal frame.
- Block legs – square, contemporary.
- Cabriole or bun feet – curved, traditional.
2.Prepare the base
Place the furniture on a blanket or rug to protect surfaces. The underside should be flat, clean and structurally sound. If the base is hollow or has an uneven frame, fit a timber support block at least 20 mm thick to hold the screws securely.
3.Mark the placement
Use a pencil and measuring tape to mark where each leg will go. For stability, move the legs in from the edge by 25 to 50 mm. When working with square or rectangular pieces, make sure the opposite legs are perfectly aligned by measuring from the same point on each side. To make sure the mounting surface is flat, use a level.
4.Fit the mounting plates (if required)
If the legs don’t have a built-in plate, position the mounting plate according to your markings. Drill pilot holes that are about 2–3 mm smaller than the diameter of the screws to avoid splitting the timber. Secure the plate with screws, and, for angled plates, check that the leg will lean slightly outward, not inward.
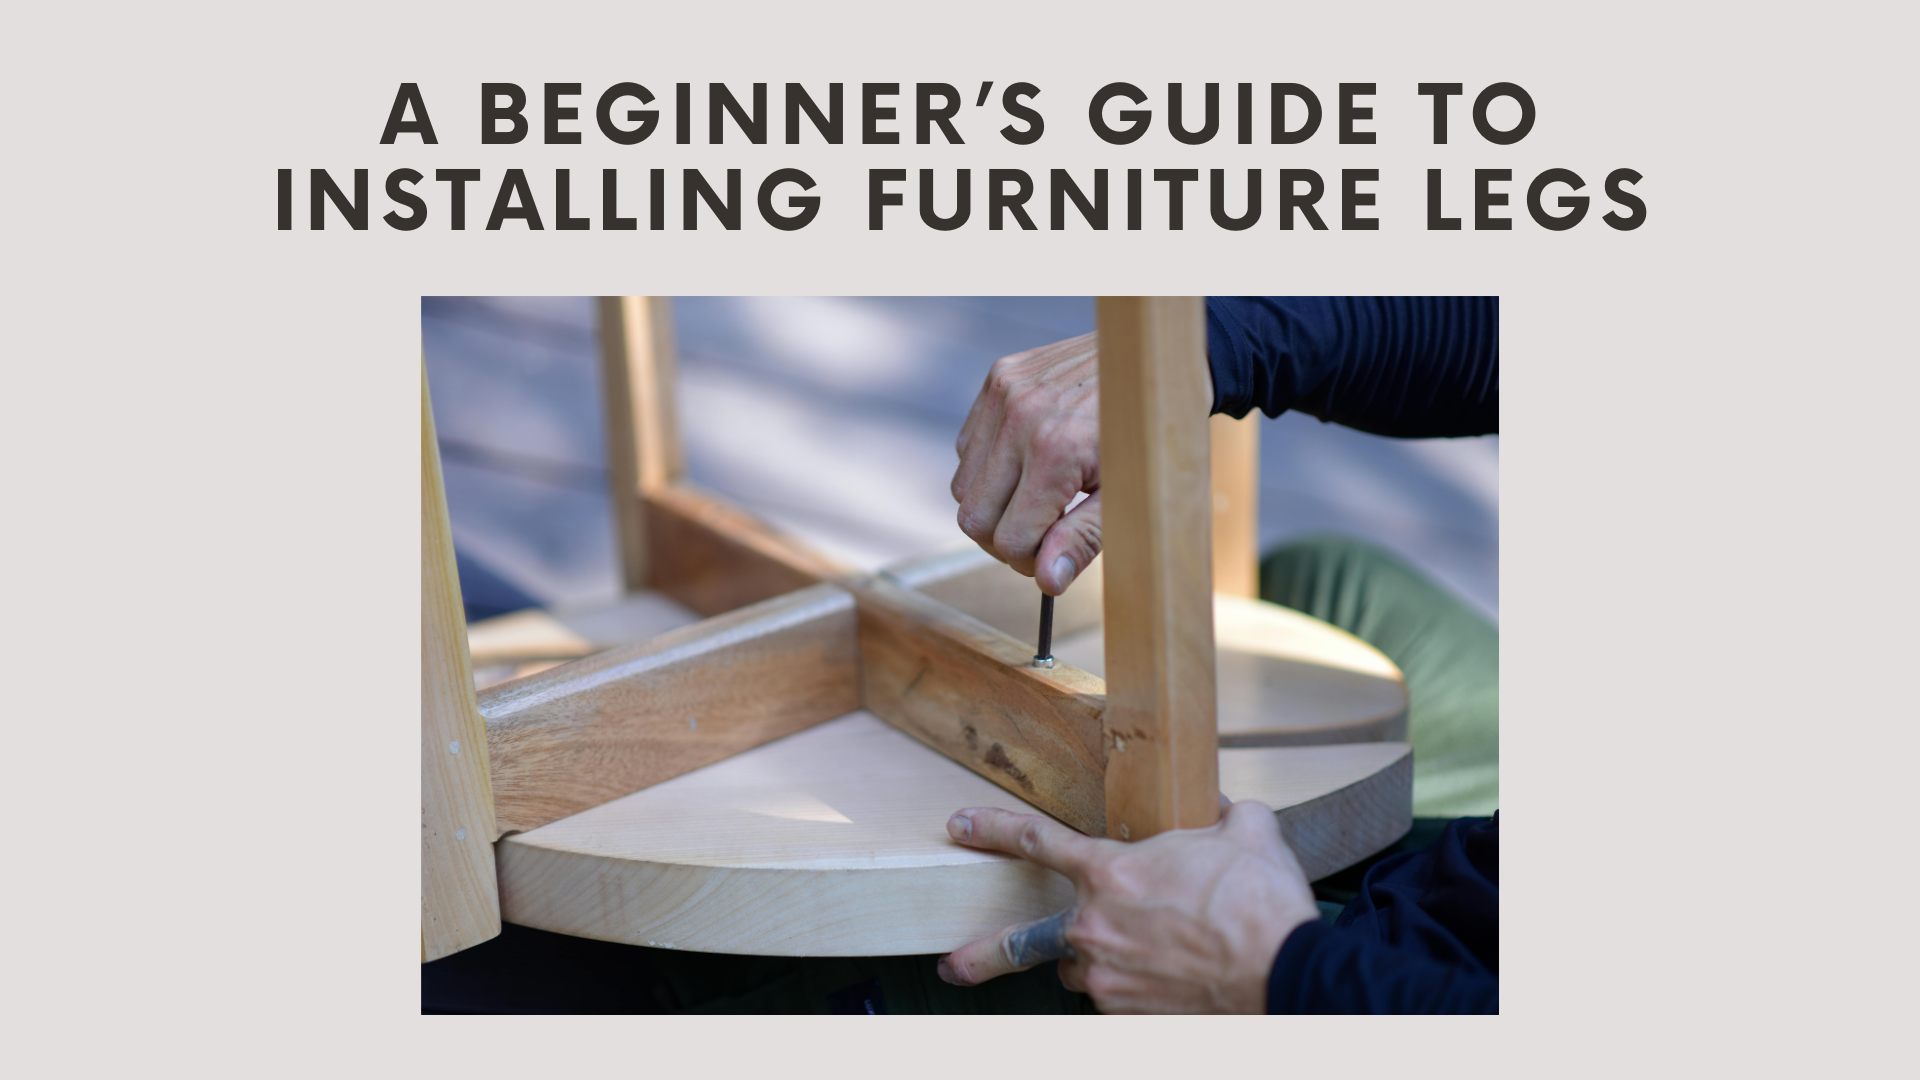
5.Attach the legs
If the legs have a bolt mount, you can screw them in by hand or with a wrench. If you're screwing directly into wood, first hand-tighten them, then use a tool to tighten them up. Too much tightening can break wooden legs or strip screw holes.
6.Check stability
Turn the furniture upright and test its stability by pressing down firmly. If it rocks, adjust the leg height or use felt pads to level it. For uneven floors, consider using adjustable levelling feet.
Extra tips
- Felt pads or rubber tips protect timber and tile floors.
- For splayed designs, use angled brackets to maintain correct geometry.
- For pieces over 1.5 metres long, add a central support leg to prevent sagging.
With accurate measurements, the right hardware and basic tools, fitting new furniture legs is a straightforward project that can give you a well-proportioned, stable and stylish result.